FlashForge Adventurer 3 Review

Our Verdict
Our Analysis and Test Results
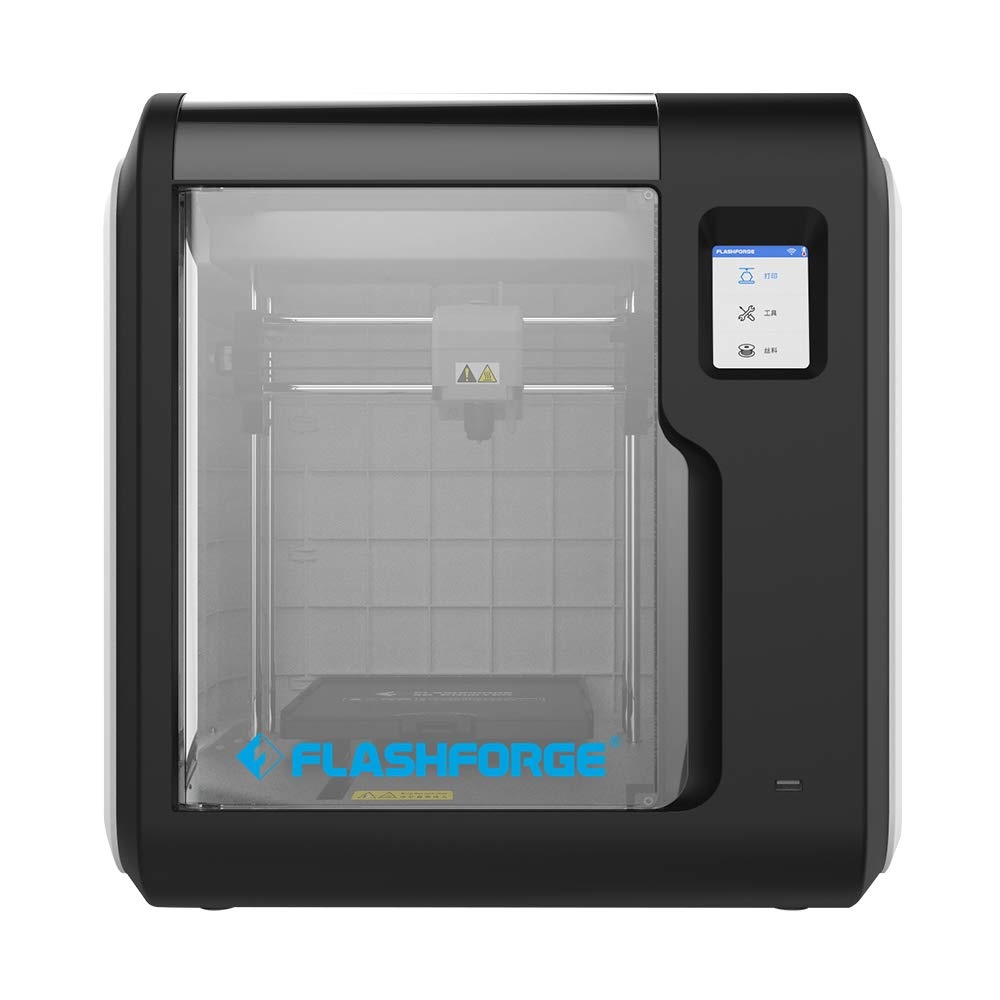
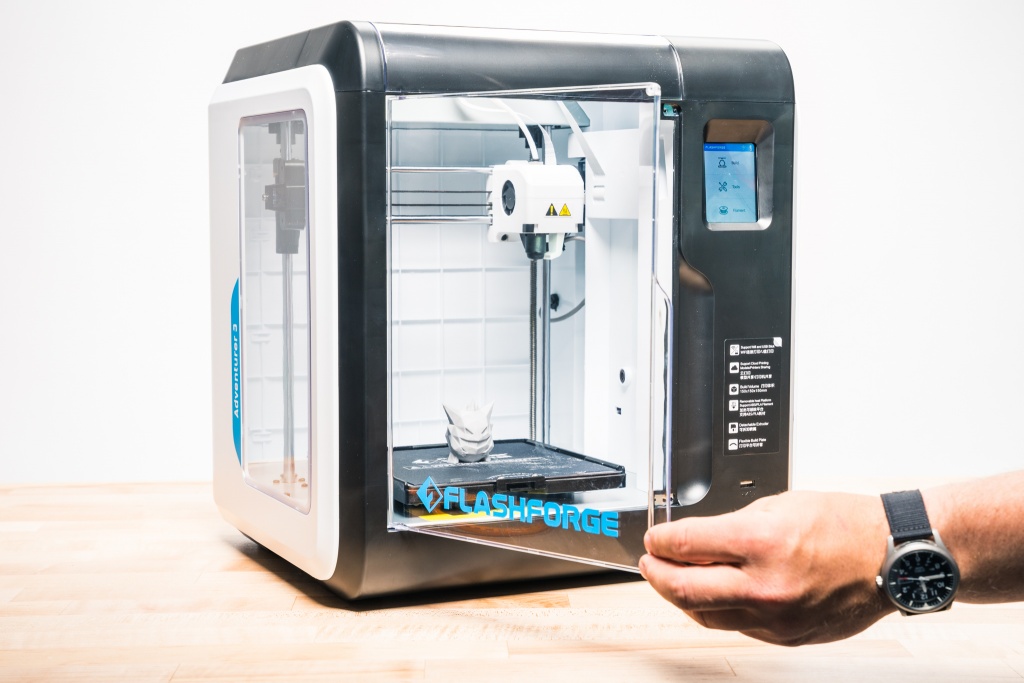
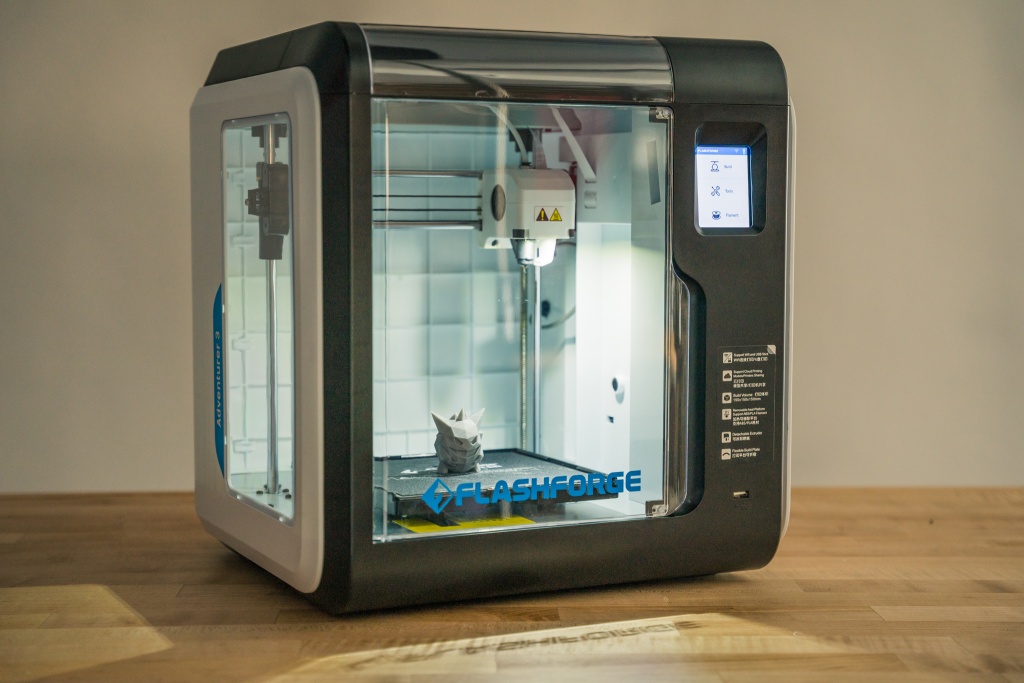
One unique feature that sets this printer apart is the integrated webcam for checking in on your prints while they are in progress, using the FlashCloud or PolarCloud app.
Print Quality
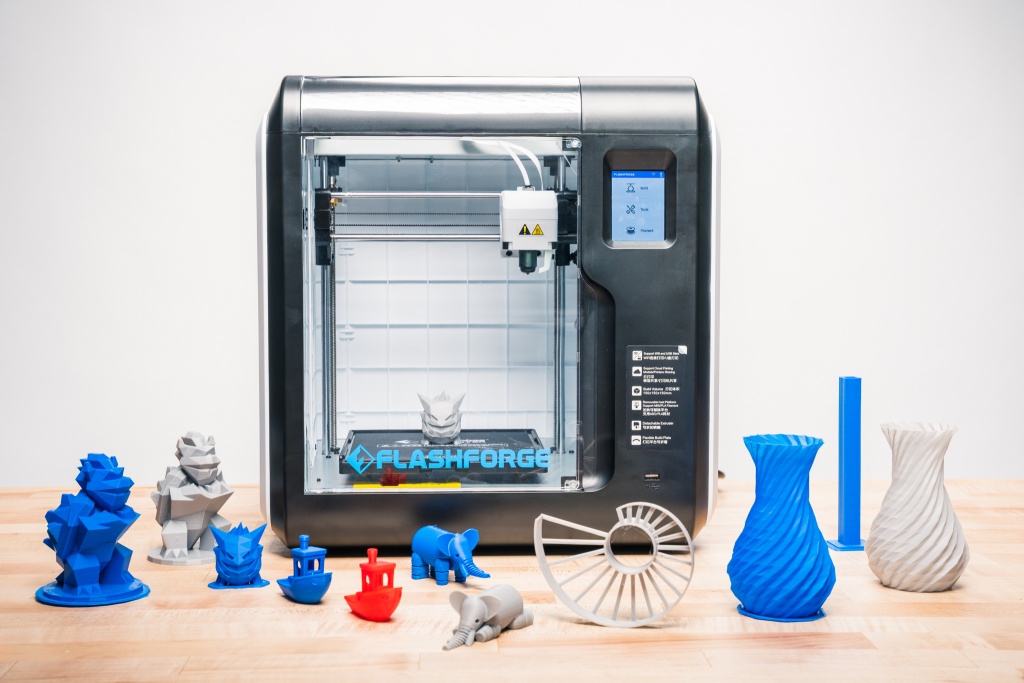
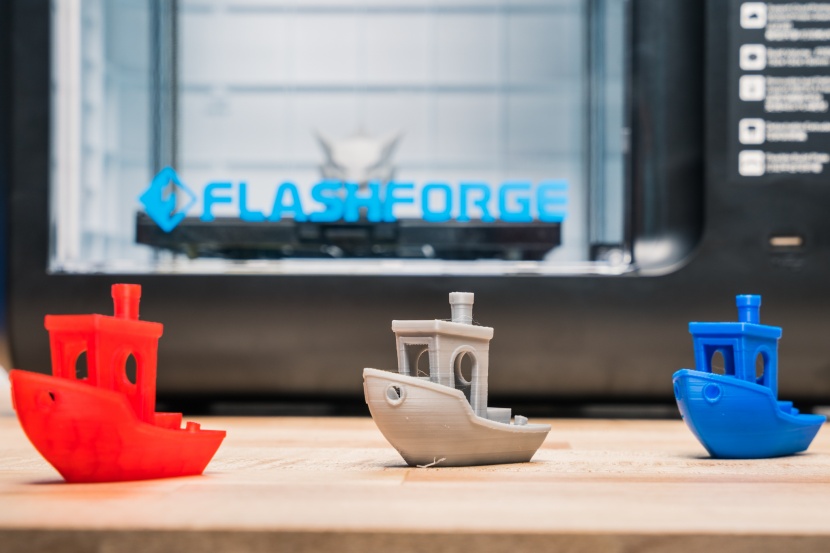
As the FlashForge Adventurer 3 is a filament-based printer, we used both PLA and ABS for our tests. It delivered solid, but not incredible, prints. Starting with the 3D Benchy, the PLA boat produced by the Adventurer 3 looks pretty good, but some of the overhangs drooped a bit and the text was harder to read. The ABS version did much better, with a smoother surface finish and better overhangs. However, the bottom is slightly warped.
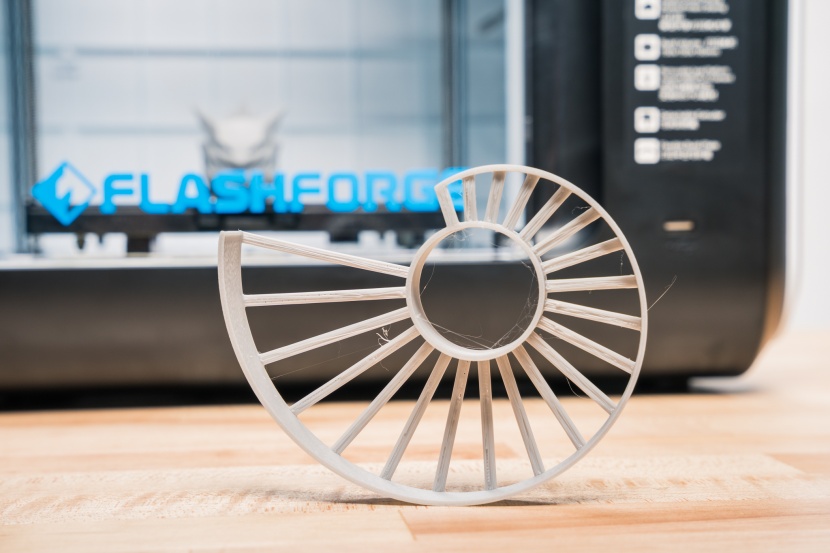
The Adventurer 3 has decent bridging ability, even with the ABS, which is usually much harder to print. The longer bridges had a small amount of sagging and a few strings, but otherwise looked great. The raft on the ABS version had a small air gap, making it hard to remove.
Performance dropped a bit with the Eiffel Tower, and the ABS version failed completely. The top of the PLA version was so flimsy that it broke without very much force at all. The bottom supports look a little scraggly, but improved further up the tower. In contrast to the Eiffel Tower, the PLA version of an articulated, print-in-place elephant did much worse than the ABS version in this test, exhibiting some messy layers and articulations that were almost completely fused. The ABS version moved very freely and looked much cleaner overall.
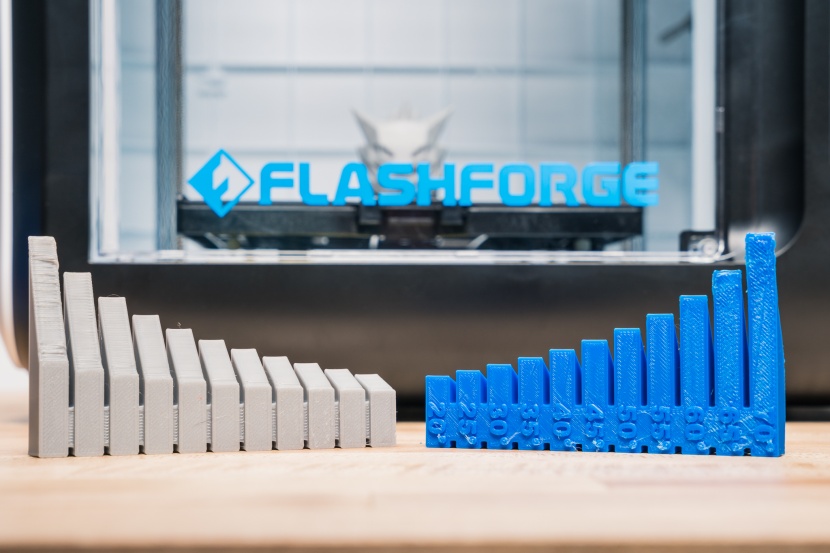
When it came to dimensional accuracy, the Adventurer 3 printed a PLA model nearly the right size to hold a nickel. The ABS version has plenty of visible gaps but will just barely hold the coin in place when you pick it up. The overhanging test uses steeper and steeper overhangs, and the Adventurer 3 impressed with the PLA version. All but the steepest two overhangs came out essentially perfect. The ABS version had some warping and drooping on the steeper angles. There was also a considerably worse finish on the underside with this version.
Unfortunately, the performance of the FlashForge Adventurer 3 plummeted with the articulated platform jack. It wasn't able to produce a really successful PLA version, and it completely failed with the ABS version. The PLA print would complete, but we never managed to break the moving parts free without the knurled knob breaking off.
This printer did do much better with the wireframe cube, with the bridges looking almost perfect in PLA and above average in ABS, though there was a bit of layer separation from warping.
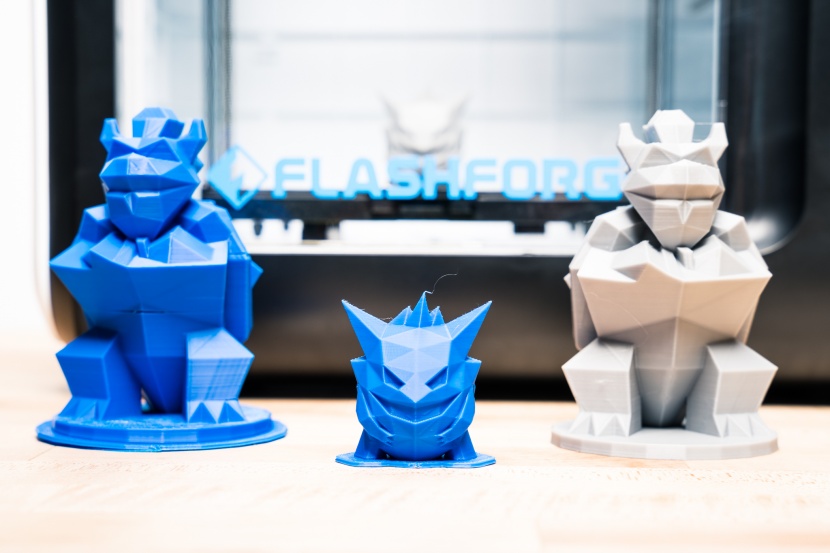
The Adventurer 3 continued to do very well with the pair of low-poly figures, with the PLA models coming out practically perfect. The raft on the larger model in ABS stuck and there was a bit of layer separation but the overall look was quite good. The smaller figure in ABS also had a bit of the raft stick but looked even better.
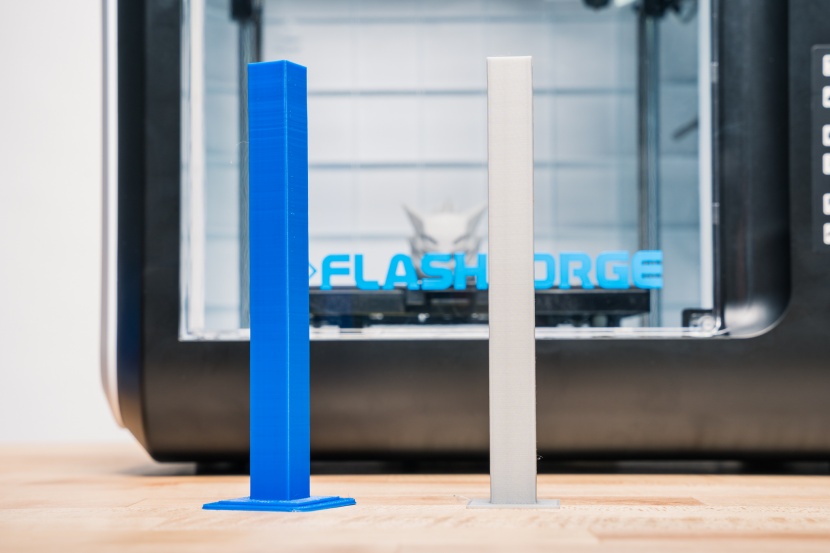
Printing in vase mode (single-wall continuous spiral), the Adventurer 3 produced a pair of excellent single-layer vases in both types of plastic. It also exhibited minimal Z-axis wobble in the tall tower test.
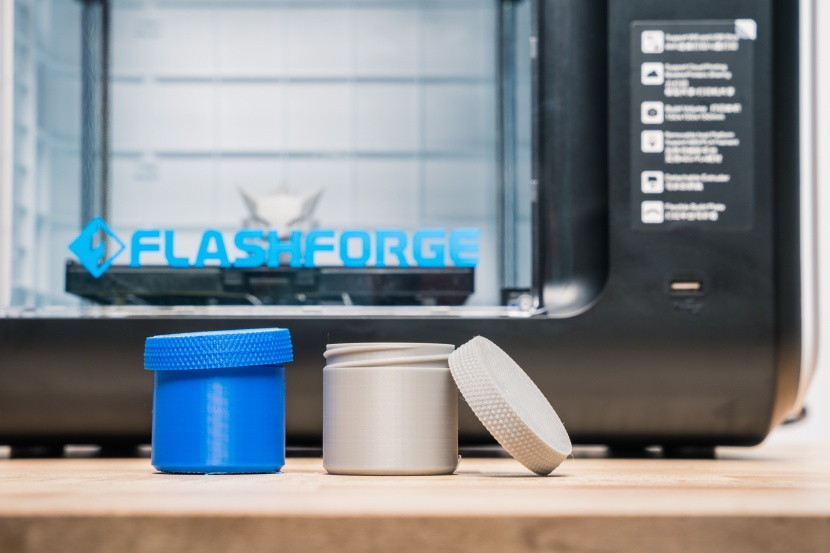
It struggled a bit in the support test, with both ABS and PLA models necessitating the use of pliers to remove the sacrificial structure. Fortunately, it did finish out our test with a strong showing with the threaded jar and lid.
The threads worked smoothly but there is a bit of a seam visible from where each layer started and stopped.
Ease of Use
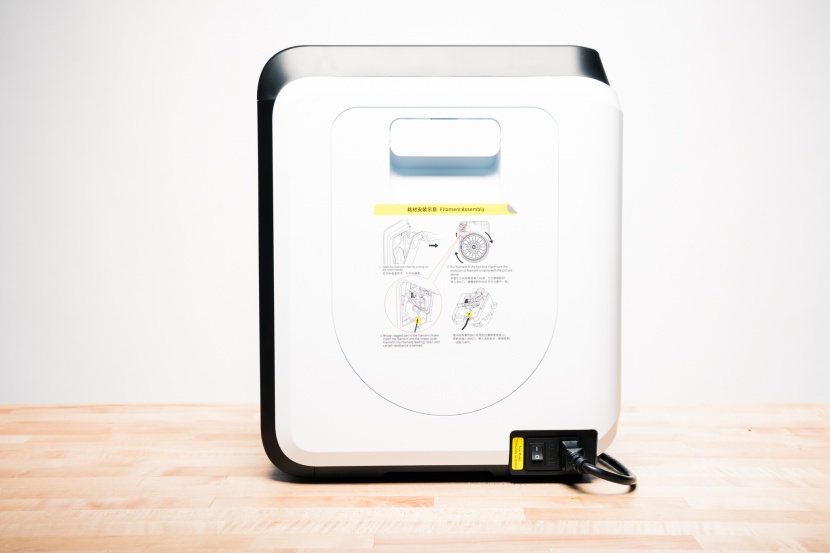
Ease of use is this printer's strongest metric. FlashForge makes it exceptionally easy to change filaments with an almost fully automatic process. You just need to select the appropriate menu option, then give the hotend time to heat up. Once it is heated, you just push the filament in until the extruder grabs it, then stop the process once you see filament coming out of the nozzle. The filament spool then fits in the integrated holder in the back with a cover that snaps into place.
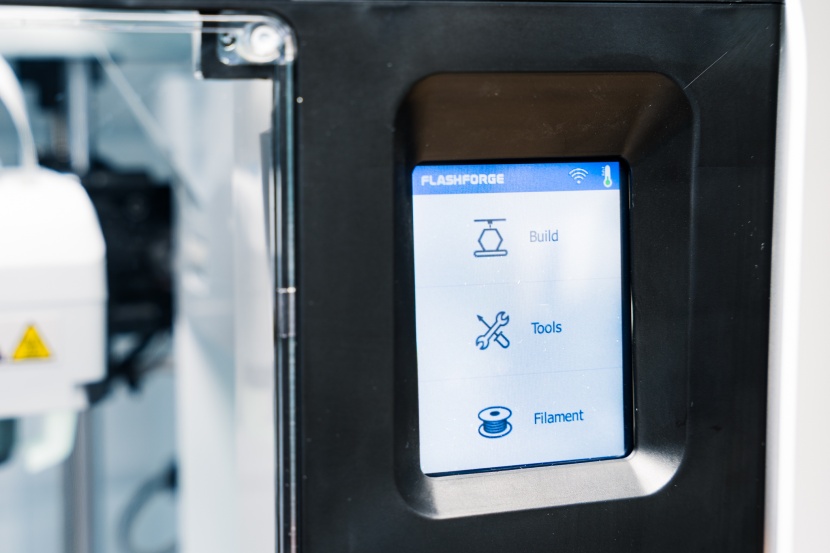
This printer handles the bed leveling process on its own, though it does have a calibration button for the Z=0 height. We like that it arrives fully assembled and is essentially ready to print once you have removed the packing materials. Files can be sent via USB or SD card, and the screen on the printer shows the current status and time remaining.
This printer also has an integrated camera, allowing you to keep an eye on your print while in progress — an exceptionally handy feature in our minds.
Print Capabilities
We used the default FlashPrint slicer for our tests, which worked fine, though some users have been able to configure Cura for use with the Adventurer 3 with a little bit of work. It has a moderately sized build platform of 250mm x 210mm x 210mm. We like the included build plate, which provides nice bed adhesion while also being flexible for easy print removal.
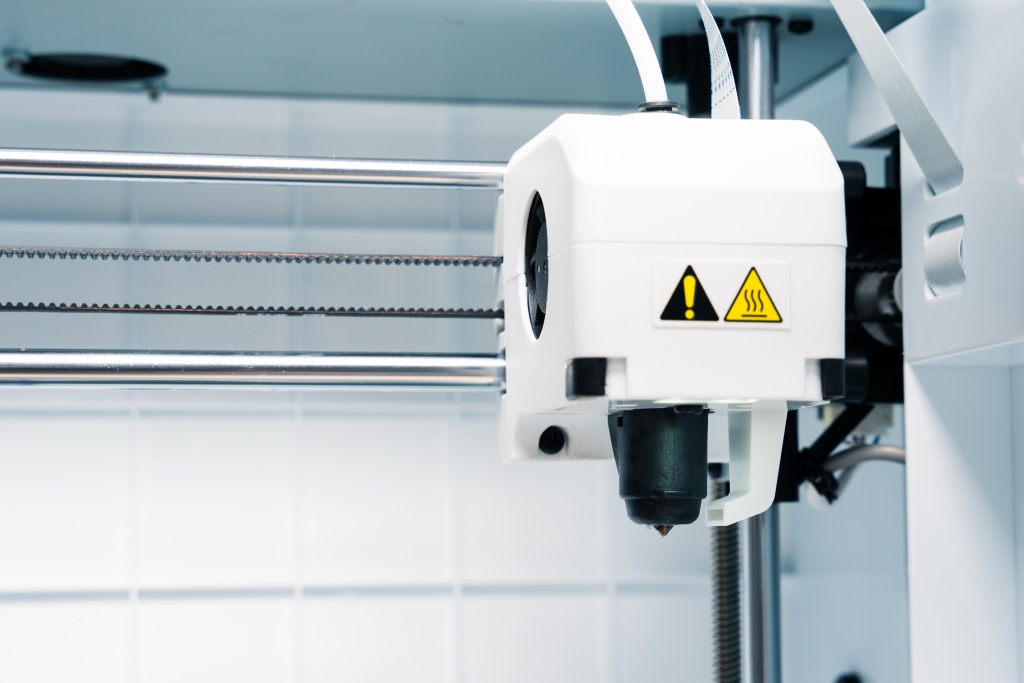
The hotend can reach up to 240°C, allowing compatibility with a wide variety of materials, especially when coupled with the heated bed, which can reach up to 100°C. Our biggest complaint with this printer is the spool holder. While you can use third-party filament with this machine, it typically comes on a spool that is too large for the included holder, so you will have to use either their proprietary filament or come up with your own spool holding solution.
Support
The Adventurer 3 disappointed slightly when it came to customer support. The website includes essentially no videos walking you through any troubleshooting processes, and we struggled to find any way to contact the manufacturer other than an email, which didn't yield the most prompt replies.
Value
If you are shopping for an easy-to-use printer on a limited budget, we would highly recommend the Adventurer 3.
Conclusion
If you are looking for a budget model that is easy to use above all else, then we think this is one of the best printers around. It doesn't have the best customer support but there are plenty of third-party resources out there if you get stuck. It delivers above-average prints for the most part and the enclosure makes it much safer for a classroom setting.


