Our Verdict
Our Analysis and Test Results
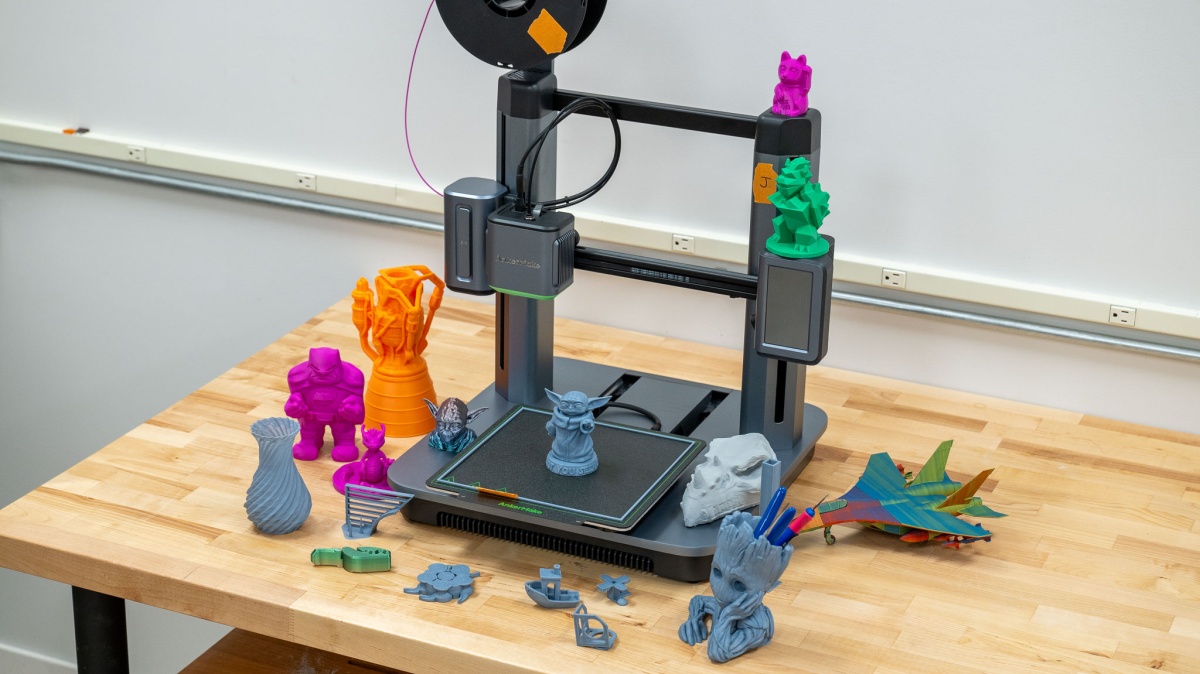
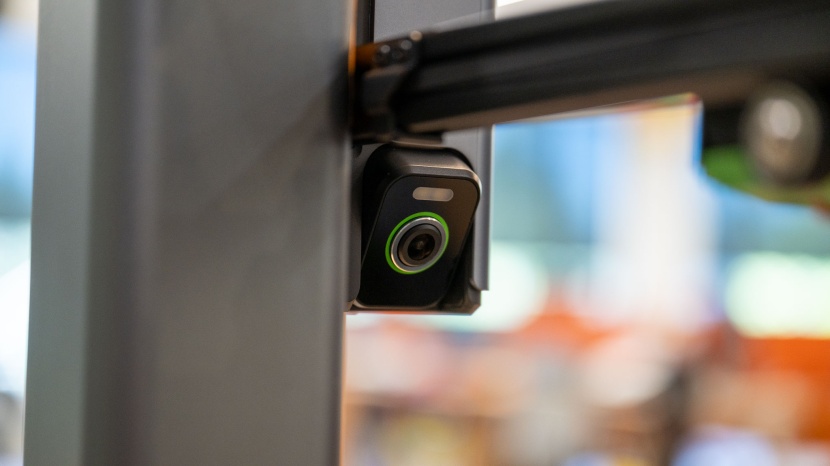
The AnkerMake M5's camera and app integration are nice little upgrades to an already great machine. The camera allows for things like timelapses and AI print fail detection. You'll probably need some time to dial in settings as the quality out of the box is good, but there is some room for improvement.
Print Quality
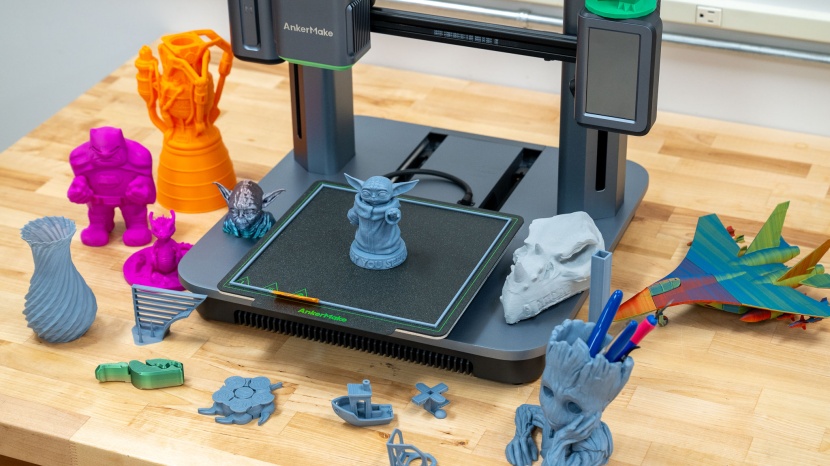
Print quality accounts for the majority of the overall score in our testing, and the M5 did pretty well. FDM (fused deposition model, more info here) printers like this one lag behind the complex detail that resin printers, such as the Anycubic Photon Mono 2, can produce. However, our head tester, Graham Faulknor, reasons that “if you weigh it against the benefits of FDM's generally lower cost, much better ease of use, and lack of a gooey resin mess to clean, I think the tradeoff can be worth it for a lot of people.”
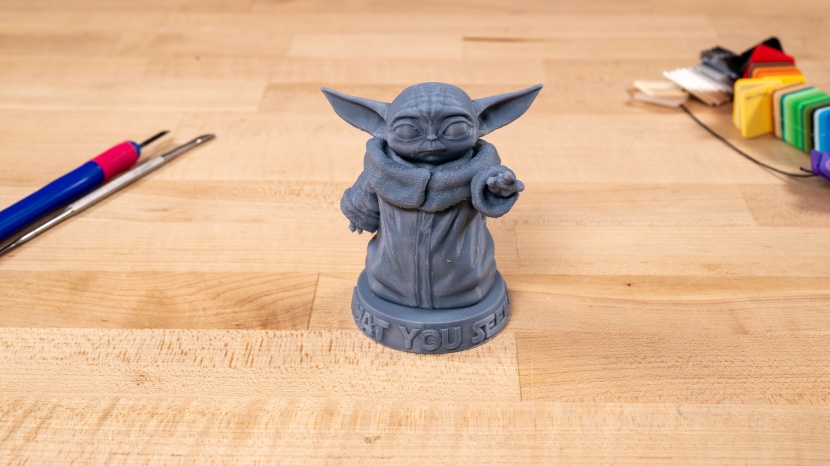
Using a common PLA filament type and sticking with the standard, out-of-the-box settings of the machine and the paired slicer (the prep software), the M5 produced decent results, but as with most printers, the quality can be dramatically improved after you get to know your machine and tinker with the settings yourself.
When checking for wave and wobble in the flat sides and plane transitions (i.e., when a print head hits a sharp corner and changes direction) of our XYZ Calibration Cube, we saw some noticeable steps beyond the normal build lines and some ghosting above the inset lettering.
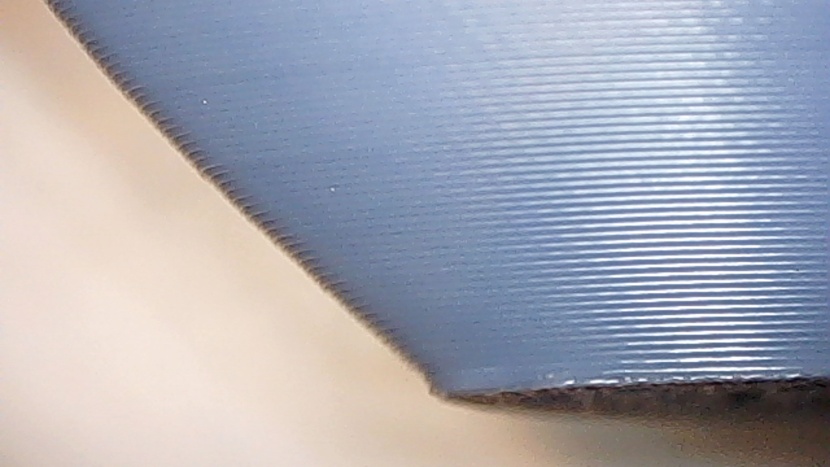
Our vase test didn't fare too much better. Printed in a continuous spiral, it's meant to test extrusion consistency, and the vase produced by the M5 showed slight variations in layer thickness that were noticeable to the touch and showed up as density differences when held up to the light. Consistency wasn't amazing, but we didn't find too many pinholes when we filled the vase with water.
In contrast, the M5 produced a Z-tower with near-flawless flat surfaces, only showing the slightest hint of wobble near the top. The corners showed crisp consistency throughout, other than a slight rounding, also near the top. It was one of the best in our whole tested lineup of printers.
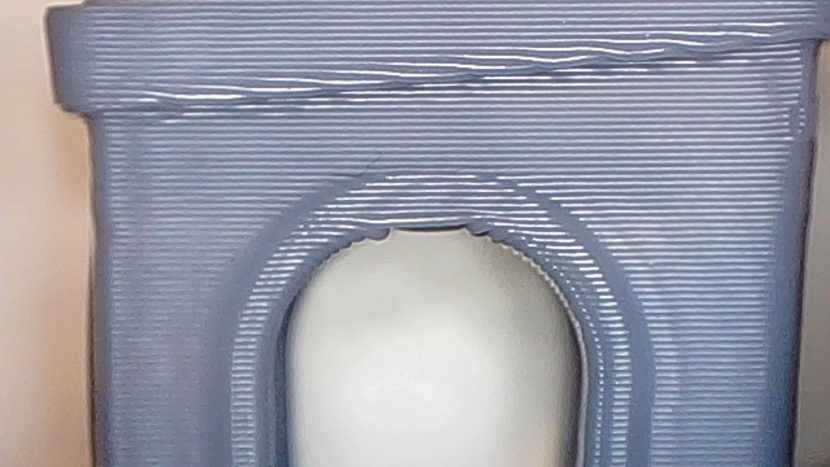
Our test for bridging of unsupported spans produced results that were better than average but still not great. We saw underside issues starting at the lowest distance (20mm), but rough patches really started at the 60° mark and higher for the overhang portion of the test print. Both of these aspects were confirmed on our Benchy tugboat model later on, which printed beautifully. The surface quality on the slopes of the hull was solid, and the only thing we found out of place was some flattening of the top of the portholes and at the top of the arches.
The M5 is able to print with a decent amount of accuracy and precision. We printed a small spinning toy with progressively thinner gaps and checked out the tiny details and joints in moving parts. Only the smallest two gaps, measuring 0.15mm and 0.2mm, fused or failed here. Our coin fit test did even better, creating a near-exact match to the size of a nickel.
Lastly, we looked at support removal. In a small model specifically designed to cram the highest number of supports into the tiniest frame possible, the M5 created supports that were easy to remove but also left comparatively bad surface quality at the removal sites. This is a little disappointing, but it is also something you can easily resolve with some tinkering in the slicer.
Ease of Use
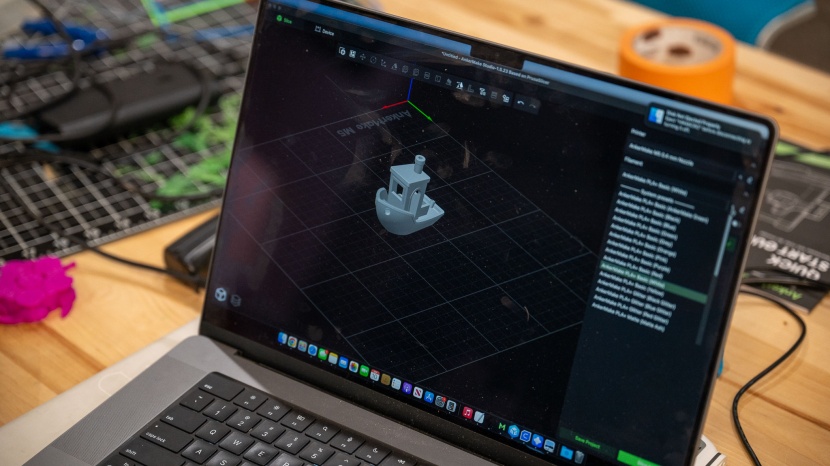
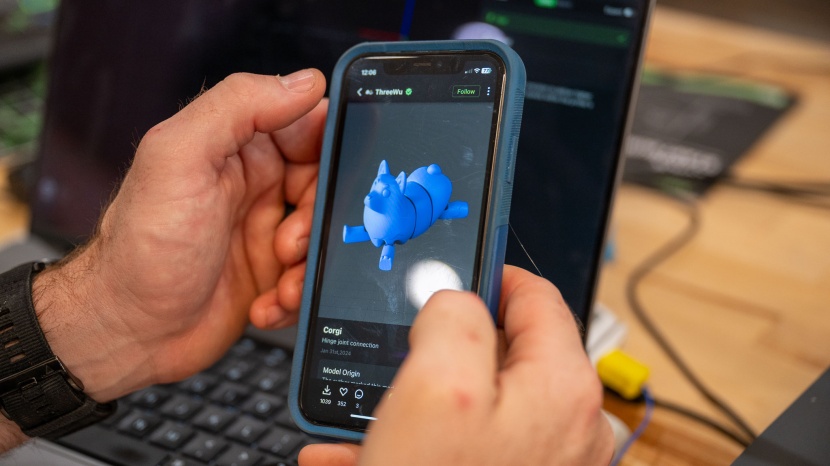
AnkerMake's recommended slicing program, AnkerMake Studio, is one of the highlights of this machine. It's clean, simple, and novice-friendly without being too 'dumbed-down'; we saw all the same customizable settings as other brands, presented in an easier-to-navigate package. A companion app allows you to start, stop, and remotely monitor prints through the built-in camera. This feature alone is going to be worth the upgrade price for the M5, and one of our testers mentioned that “this legitimately sets it apart from 90% of printers on the market today and makes it a much more attractive buy in my book.”
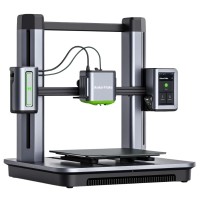
According to the manufacturer, setup is a 15-minute process, and it took us almost exactly that. This is one of the M5's strongest points; there are so few parts in the box that we were left wondering if we missed anything. The packaging is cleverly designed, doubling as a jig to position and attach the gantry to the base, which then requires just a few screws to attach. The touchscreen is already attached, so all you really need to do is plug in a few wiring harnesses, attach the spool holder, and pop on the removable bed.
Any onboard adjustments or processes can be navigated through the excellent full-color touch screen. The filament-changing procedure is easy and intuitive. Best of all, it has an unrivaled auto-leveling program; it automatically levels at 49 separate points before every single print. This process takes about 5 minutes, but for most prints, pre-launch time is a small percentage of the overall print time. This is a welcome trade-off to reduce any adhesion issues that come from even a slightly askew build platform.
You can get your prints to the printer itself through WiFi or a USB thumb drive. These days, we think a WiFi connection option should be non-negotiable with higher-tier printers.
Print Capabilities
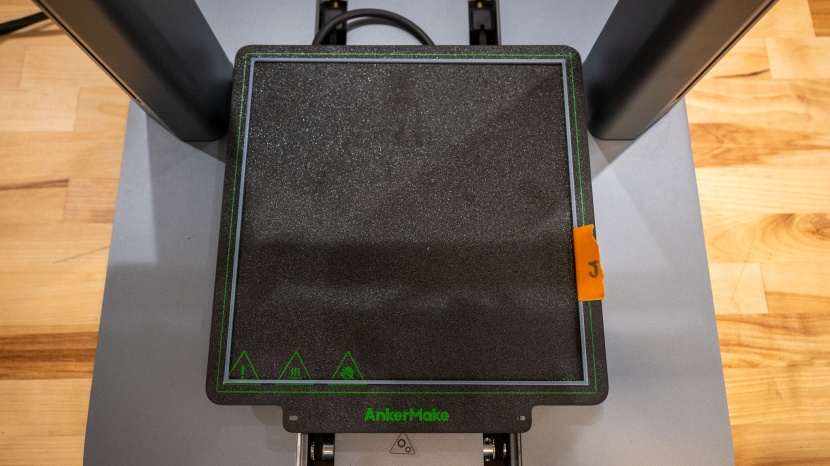
First things first, the build volume is well above average at 235mm x 235mm x 250mm (9.25" x 9.25" x 9.84"). The gantry-style structure feels rock solid, and our build tests showed that wobble is generally under control, so we felt comfortable saying that the full build volume is utilizable. Or… we did until we actually put it to the test. Unfortunately, we were only able to get AnkerMake's slicer to print a maximum 225mm x 225mm frame, about 8% less than advertised. This isn't necessarily a deal breaker; other printers deviated far more, but it is worth pointing out.
However, the build plate is excellent. Its coating and texture, along with a very even heating profile and the aforementioned leveling procedure, mean that adhesion and warping issues should be a thing of the past. It's also removable, flexible, and magnetic, so prints practically fall off the plate once cooled — the best of both worlds.
We were surprised to see a maximum nozzle temperature capped at 260°C. This is plenty hot for the approximately 230°C that standard PLA filament requires, but this prohibits you from using some specialty materials that have significantly higher melt/flow temps. In contrast, the M5's younger brother, the AnkerMake M5C, has nozzle temps capable of 300°C.
AnkerMake claims that the M5 will go up to 500mm/s. That's nearly 20 inches per second and, in our opinion, way too fast, as it could easily mess with the print quality. We chose to run our prints at 150mm/s, which is already faster than the 90mm/s we use for most printers, so the M5 did earn some points for efficiency, even if the speed is unnecessary in most cases.
Support
Though accounting for just 10% of the overall score, user support is our last metric and is another area where the M5 shines. AnkerMake's photo and video documentation is some of the best we've ever seen, and their phone and e-mail support is also stellar. AnkerMake is a Chinese brand, so US support is conducted mainly through email. We received responses consistently within a day, though, and the help was straightforward and technically clear.
If you take a look at the M5 Support Page, you'll be impressed. Anything you really need to know is presented in simple, clear, quick videos set to upbeat stock Muzak. Their maintenance and replacement FAQs are also impressive — if you have a problem, AnkerMake wants you to get the help you need. We wish all brands felt this strongly about customer service.
There's a 30-day money-back guarantee, and the warranty for the printer itself is fairly standard, lasting a full year, but the accessory warranties are strangely short at only three months. We hope that doesn't mean AnkerMake expects parts to break or wear out particularly quickly, but we didn't see anything go awry in our testing, so no reason to be distrustful so far.
Should You Buy the AnkerMake M5?
We're pretty happy with the M5 overall. Support resources, setup, and navigating the menus both on the software side and with the onboard touchscreen are all robust and easy to maneuver. Paired with the solid print quality and the excellent camera and app functionality, we can't find much to dislike. If you can swallow the cost of entry (or, ahem, find it on sale), this may just be the perfect beginner product that can also grow with the user.
What Other 3D Printer Should You Consider?
If print quality is your number one concern, only a few FDM printers can give the M5 a run for its money. The Bambu Lab P1P and maybe the AnkerMake M5C are the only ones to fit that bill for now. Considering a resin printer may be your next step if you want to achieve greater detail in your prints, and for that, we like the Anycubic Photon Mono 2. The M5 is a good value in its own right, but there are definitely more affordable options out there. The M5C again should certainly be a consideration, as well as the diminutive Entina Tina2.
| Awards | Best for Beginners |
|---|---|
| Price | $699 List |
Overall Score  |
|
| Star Rating | |
| Bottom Line | A refined product that does most things well, and is incredibly easy to use |
| Pros | Excellent auto-leveling, camera, easy assembly, stellar support |
| Cons | Low temp extruder, on the pricier end |
| Rating Categories | AnkerMake M5 |
| Print Quality (40%) | |
| Ease of Use (30%) | |
| Print Capabilities (20%) | |
| Support (10%) | |
| Specifications | AnkerMake M5 |
| Time to Print a Benchy | 56.90 min |
| Measured Effective Bed Size | 225mm x 225mm |
| Bed Temp Gradient | 4° C |
| Maximum Extruder Temperature | 260 C |
| Screen Resolutiuon | N/A |
| Compatible Materials | PLA, PETG / PET, ABS |
| Build Volume (X x Y x Z) | 235mm x 235mm x 250mm |
| Overall Size | 17.2" x 18.5" x 19.8" |
| Self Leveling Bed | Yes |


